


Registering Warned Students
Published 12 Jul 2021Updated 12 Jul 20212 min read
Enable the Registration for a Warned Student
To access the system, please follow the below steps:
- Go to adminsis.ajman.ac.ae and log in using your username and password.
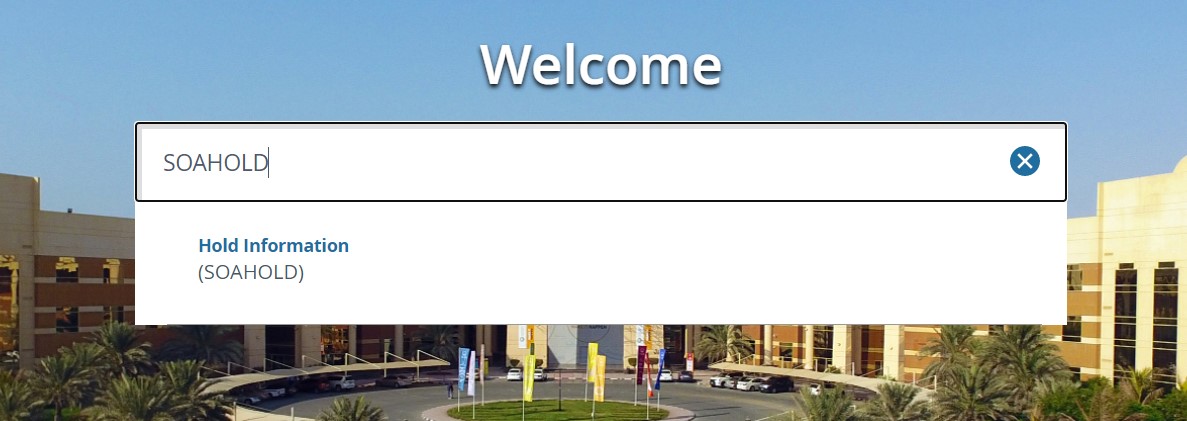
- In the homepage, enter SOAHOLD or Hold Information.
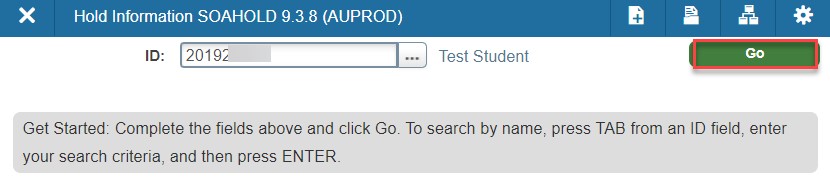
- Enter the Student ID, then click on Go.
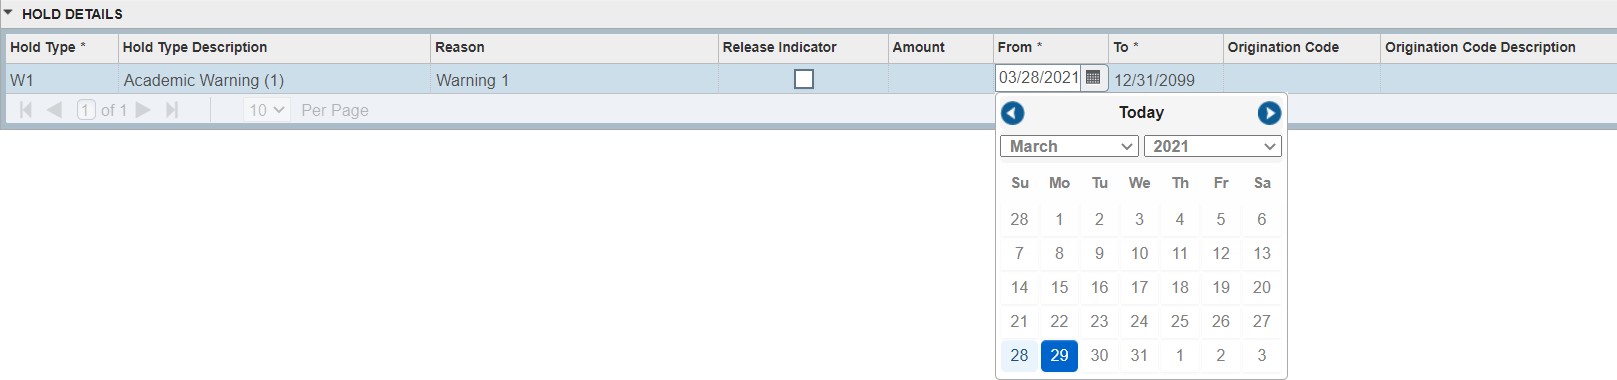
- For the holds that have description (Academic Warning (N) or Warning List), change the From date to match the last day of registeration, as illustrated below, and then click on Save. Noting that you should not change the To column. Please check the academic calendar to retrieve the last date for registration.
Once the record is saved, you will be able to view the confirmation notification.
Register the Courses
- Go back to the adminsis.ajman.ac.ae homepage.
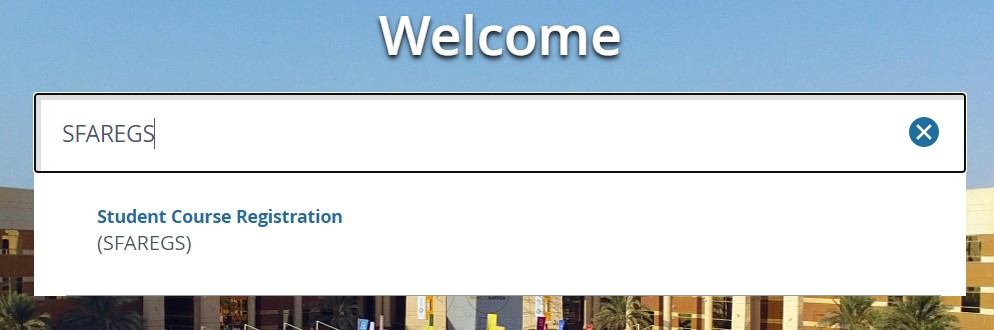
- Enter SFAREGS or Student Course Registration.
- Choose the term that you would like to register the student in and enter the Student ID, then click on Go.
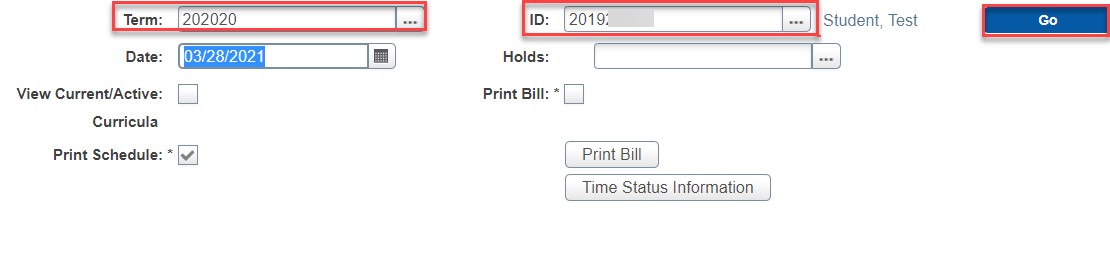
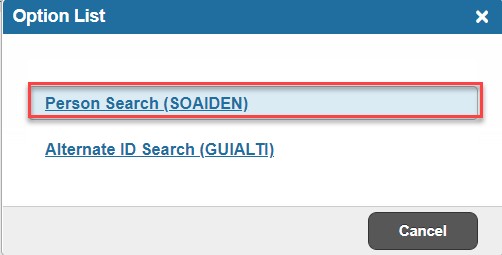
You can search for your student by clicking on the three dots next to the ID field, then on Personal Search.
- Check the minimum and maximum credit hours allowed for registration which depends on the warning the student has, noting that this differs from a college to another.

Note:
In case of having a student with Warning 3, please do not register any courses and refer back to your college to take an appropriate decision. - In the Course Information section, enter the CRN, as illustrated below. Noting that you can refer back to Argos to pull a report with the CRN details. For more information about this, please check the next section.

- Enter the Status as RR to prevent the student from dropping the course.

- Once you add all the courses, click on the Save button twice. A confirmation of saving will appear as illustrated below:
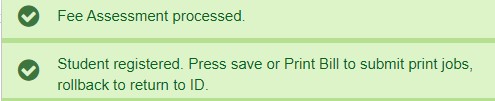 In case of facing an error, please refer to this article. Below is an example of an error.

- Contact the student to inform him/her about completing the registration for the course(s) s/he should repeat.
Export Section Report from Argos
To export the report about CRNs, log into Argos and follow the below steps:
- Click on Faculty.
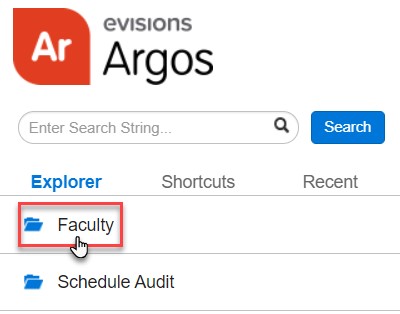
- Click on Section Report.
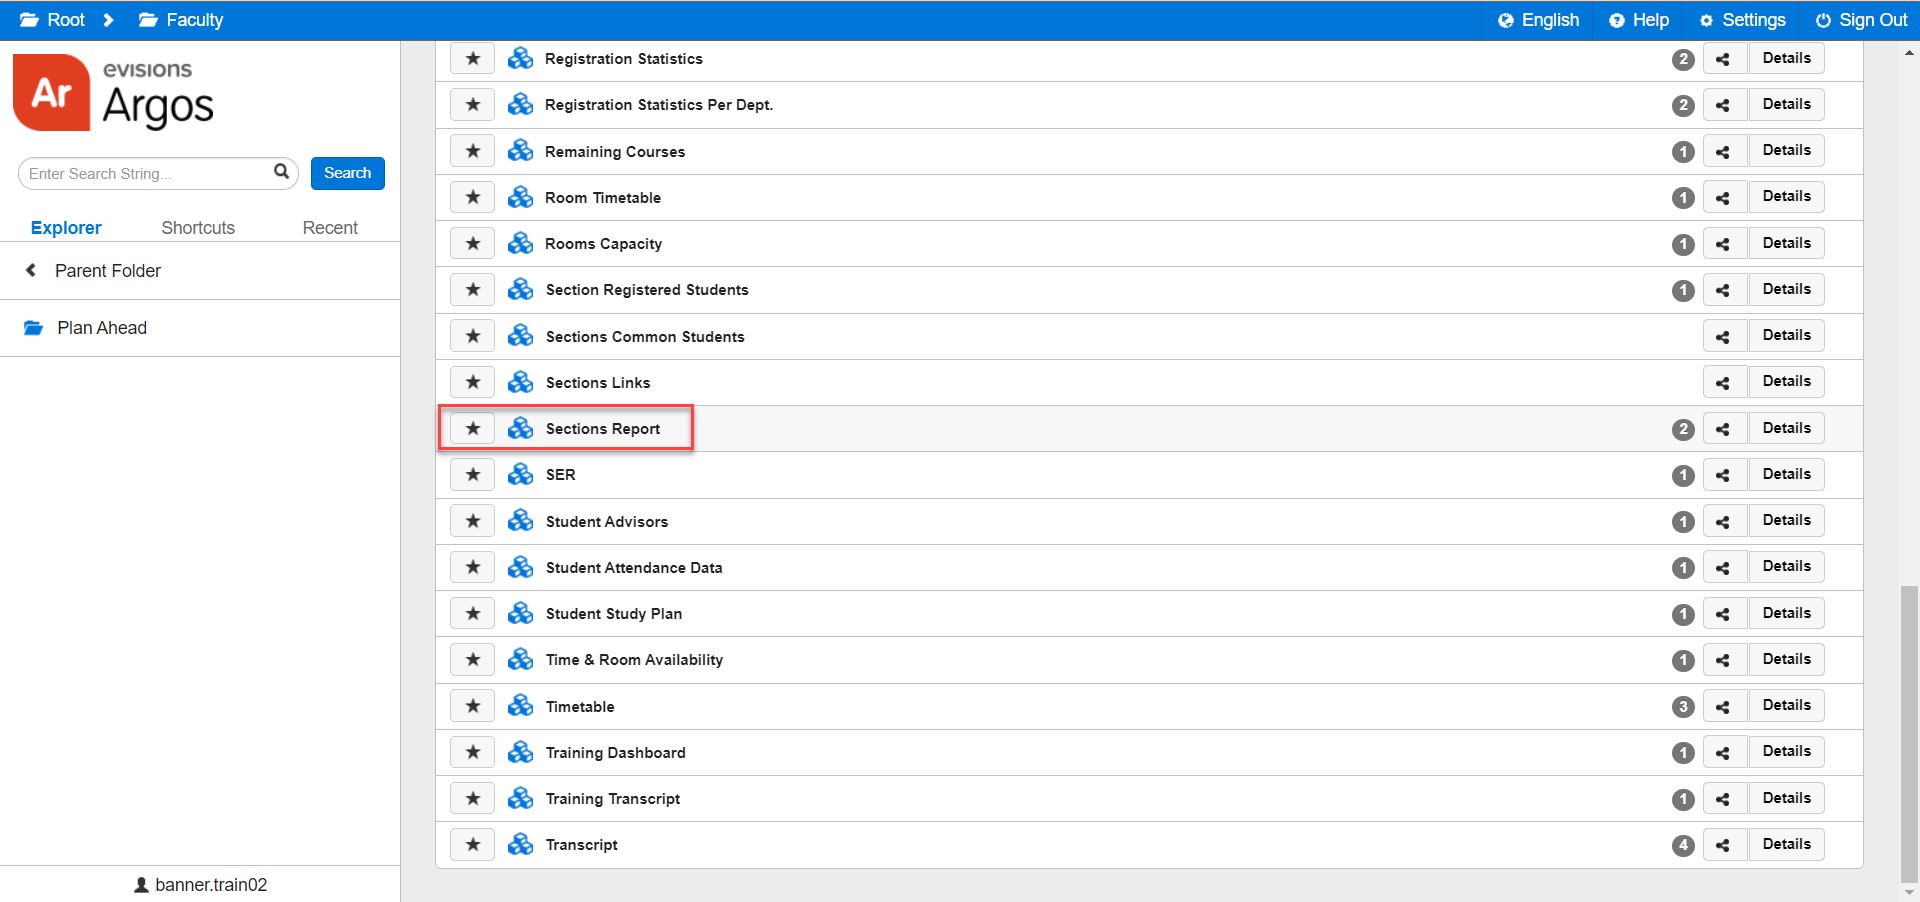
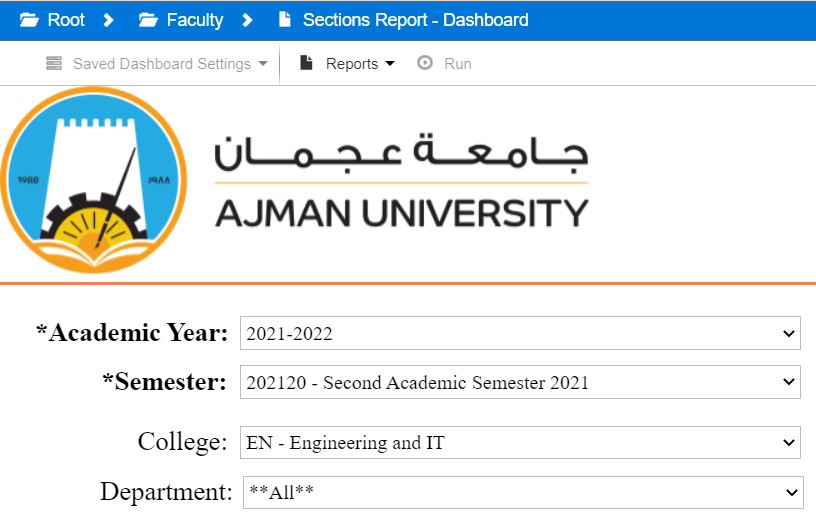
- Enter the Academic Year, Semester, and College.
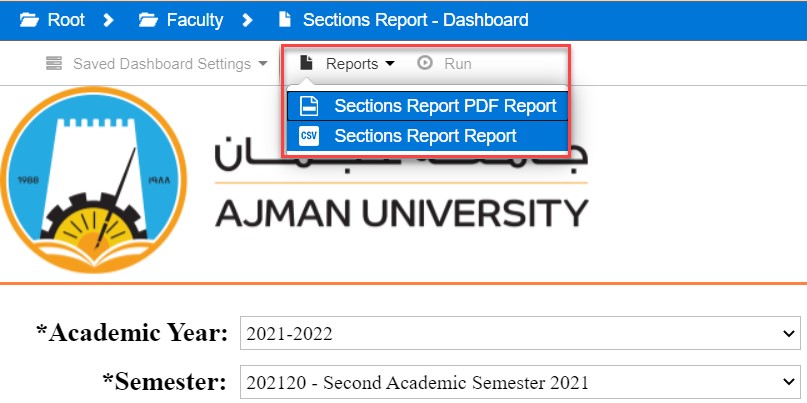
- Click on Reports and choose whether you would like to download an Excel sheet or a PDF file of the report, as illustrated below. And then click on Run.
Was this article helpful?
Related articles
Banner SIS
Original source: https://it.ajman.ac.ae/docs/registering-warned-students